Introduction
Are you managing database changes through scattered SQL scripts? Struggling to track who changed what and when? Worried about inconsistent database structures across environments? Wanting to set up some king of source control?
Visual Studio SQL Server Database Projects (often using SQL Server Data Tools - SSDT) is a powerful way to bring database development into the familiar world of source control, automated builds, and deployments.
This post will guide you step-by-step through creating a new SQL Database Project in Visual Studio and importing the schema (tables, views, stored procedures, etc.) from your existing SQL Server database. If you are a developer, DBA, or DevOps engineer looking to improve database management for you and your team, you are in the right place!
Why Use a SQL Database Project? (The Benefits)
- Source Control: Treat your database schema like code. Track history, branch, merge, and collaborate effectively using Git, TFVC, etc.
- Consistent Deployments: Generate deployment scripts or DACPACs (Data-tier Application Components) for reliable and repeatable deployments to different environments (Dev, Test, Prod).
- Schema Comparison: Easily compare your project definition against a live database (or another project/DACPAC) to identify drift and generate synchronization scripts.
- Offline Development & Validation: Develop and modify schema objects offline. Build the project to validate syntax against a target SQL Server version without needing a live connection constantly.
- Refactoring: Leverage built-in tools for renaming objects or moving schemas, automatically updating references.
- Integration with CI/CD: Incorporate database builds and deployments into your automated pipelines.
What do you need to get started? 🔨
Visual Studio: Any recent version (Community, Professional, or Enterprise) should work.
SQL Server Data Tools (SSDT):
- Explain that this is the core component needed.
- Mention it might be included in the "Data storage and processing" workload during Visual Studio installation.
- Alternatively, it can sometimes be installed as a standalone extension. Show users how to check (Visual Studio Installer -> Modify -> Individual components -> Search for "SQL Server Data Tools").
Access to an Existing SQL Server Database: You need connection details (server name, database name) and appropriate permissions (typically, read definitions/schema access is sufficient for import).
Step-by-Step Guide: Creating the Project and Importing 👣
(This is the core "how-to" section. Use clear headings, maybe screenshots if possible in your final blog)
-
Step 1: Create the SQL Database Project
- Open Visual Studio.
- Go to File -> New -> Project.
- Search for SQL Server Database Project.
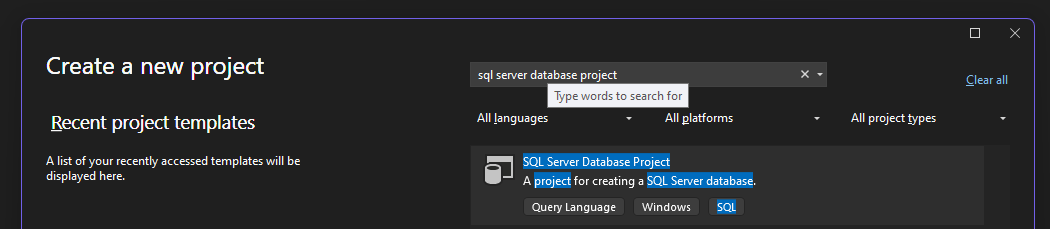
- Select the template.
- Give your project a meaningful name (e.g., AdventureWorks) and choose a location.
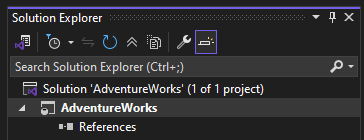
- Click Create. You'll see an empty project structure in the Solution Explorer.
-
Step 2: Configure the Target Platform (Important!)
- Right-click the newly created project in Solution Explorer and select Properties.
- Go to the Project Settings tab.
- Under Target platform, select the specific version of SQL Server that your existing database runs on (or the version you intend to deploy to).

- Save the properties.
-
Step 3: Import the Existing Database Schema
- Right-click the project in Solution Explorer again.
- Select Import.
- Choose Database....

- Configure Connection:
- Click Select Connection....
- Enter the Server name of your SQL Server instance.
- Choose the Authentication method (Windows Authentication or SQL Server Authentication - provide username/password if needed).
- Select or type the Database name you want to import from the dropdown.
- Click Connect.
- Configure Import Settings:
- Review the default settings. You generally want to import most schema objects (tables, views, procedures, functions, users, roles, permissions, etc.).
- Crucially, consider the "Import permissions" checkbox. If you want the project to manage users and permissions, keep it checked. If you manage permissions separately (e.g., outside the project), you might uncheck it. Advise users to start with it checked unless they have a reason not to.
- Folder Structure: Choose how the imported .sql files will be organized (e.g., Schema/Object Type, Object Type). Schema/Object Type is often preferred for better organization.
- Configure Connection:
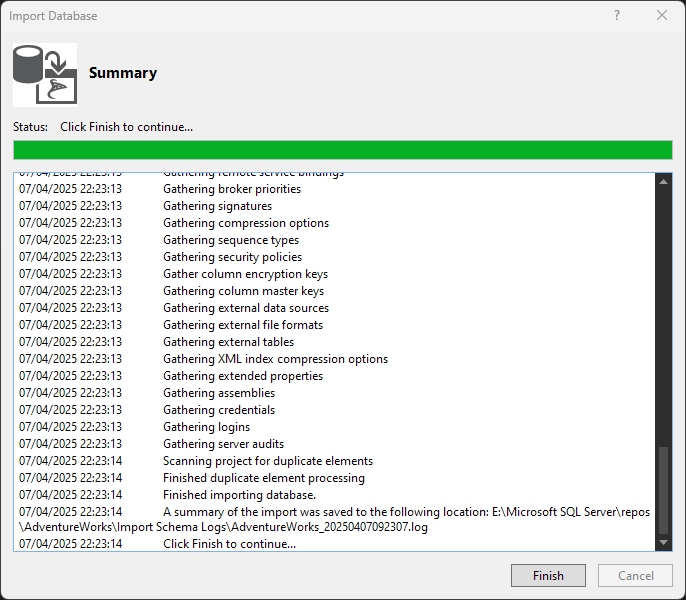
- Start the Import:
- Click Start.
- Visual Studio will connect to the database, analyze its schema, and generate .sql files for each object in your project according to the folder structure you selected. You'll see a progress window.
- Review the Results
- Once finished, click Finish.
- Explore the Solution Explorer. You should now see folders (representing schemas or object types) filled with .sql files defining your database structure.
Exploring Your New Database Project 🔍
- Briefly show what the populated project looks like in Solution Explorer (folders for dbo, other schemas, Security, etc., containing Tables, Stored Procedures, Views, etc.).
- Mention that each .sql file typically contains the CREATE statement for one object.
- Point out the .sqlproj file (the main project file) and the Properties folder.
Your new database project should look something like this:
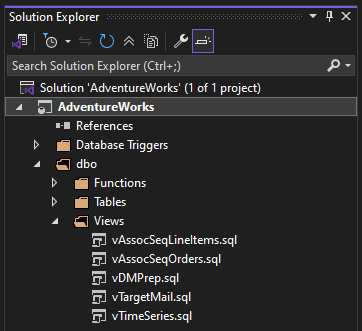
I chose to structure my files in a Schema/Object structure which is why you see dbo followed by the object type.
Each of the .sql files will typically contain CREATE statements for one object. When adding a new item you must right-click on the folder in the Solution Explorer, click Add, then select the object type you require. All SQL Server objects are supported... Doing this registers the new object in the .sqlproj file which includes the scripts in the project build.
Next Steps & Common Tasks ⏭️
- Build the Project: Press Ctrl+Shift+B or right-click the project and select Build. This validates the syntax and creates a .dacpac file in the output directory (bin/Debug or bin/Release).
- Source Control: "Now is the perfect time to add your project solution to your Git repository (or other source control system)!"
DMG recommends Azure DevOps or classic github!!!
- Schema Compare: (Right-click project -> Schema Compare...) to compare the project against the original database (or a different target) to verify the import or find differences. You are also able to use this before deploying your .dacpac file to make sure no unwanted changes are being made.
- Publish/Deploy: (Right-click -> Publish...) synchronizes a target database schema to match the project's definition. "Always test deployment against a development or test database first!"
- Making Changes: Future database changes should ideally be made within the project (editing the .sql files or using the designers) and then deployed, rather than making changes directly to the live database.
Conclusion 🧙♂️
You've taken a significant step towards managing your database schema reliably and integrating it into your development workflow. In this post we covered how to create a SQL Database Project using SSDT in Visual Studio and how to import the schema of an existing database to quickly get your source control online!
Please explore the details behind building, deploying and publishing .dacpac's further so you understand the impact they can have on running instances of SQL Server. You will be able to find more information with-in the blog, the sql_squared podcast and other well known knowledge shares.
Please leave a comment below if you have any useful feedback or drop a question in the forum for help, where a helpful member of the sql_squared community will try their best to help you out!!! Don't forget to visit the sql_squared YouTube channel for more learning on all things Data & AI 😁
Make a Donation
SQL SQUARED is provided free of change to the Data & Development communities of world. If you would like to help SQL SQUARED be as successful as can be please consider helping us out by donating below
